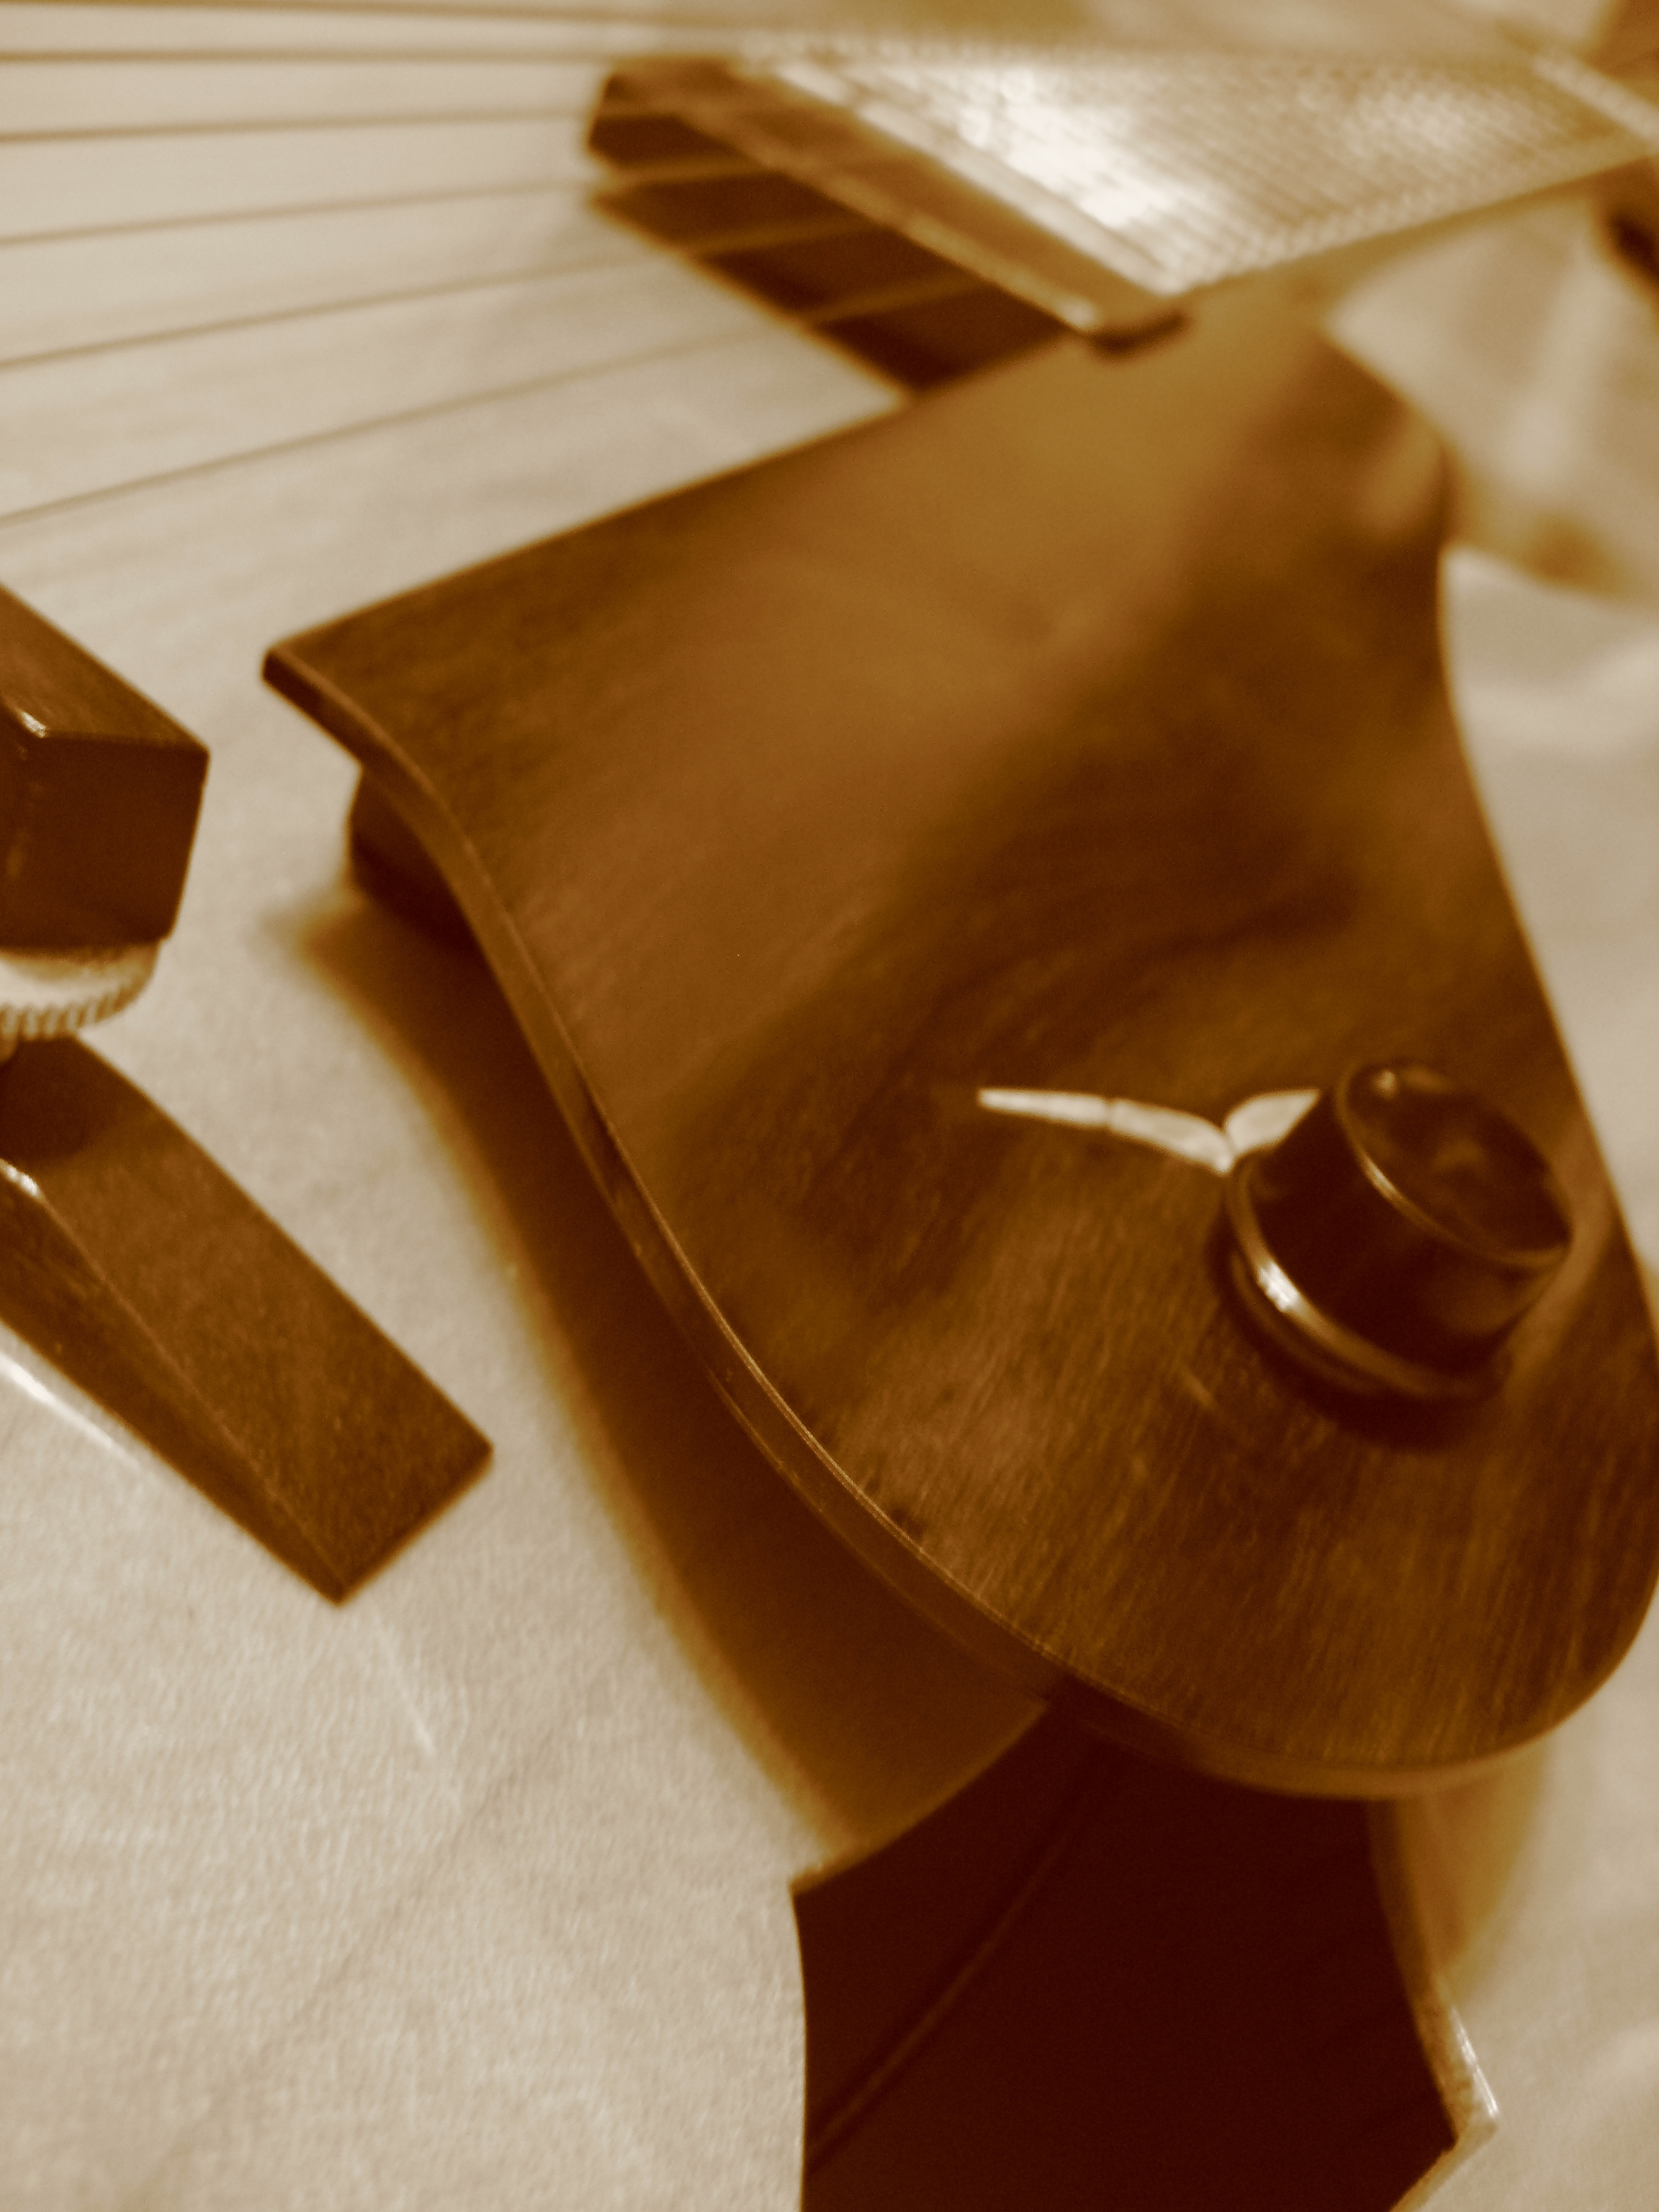
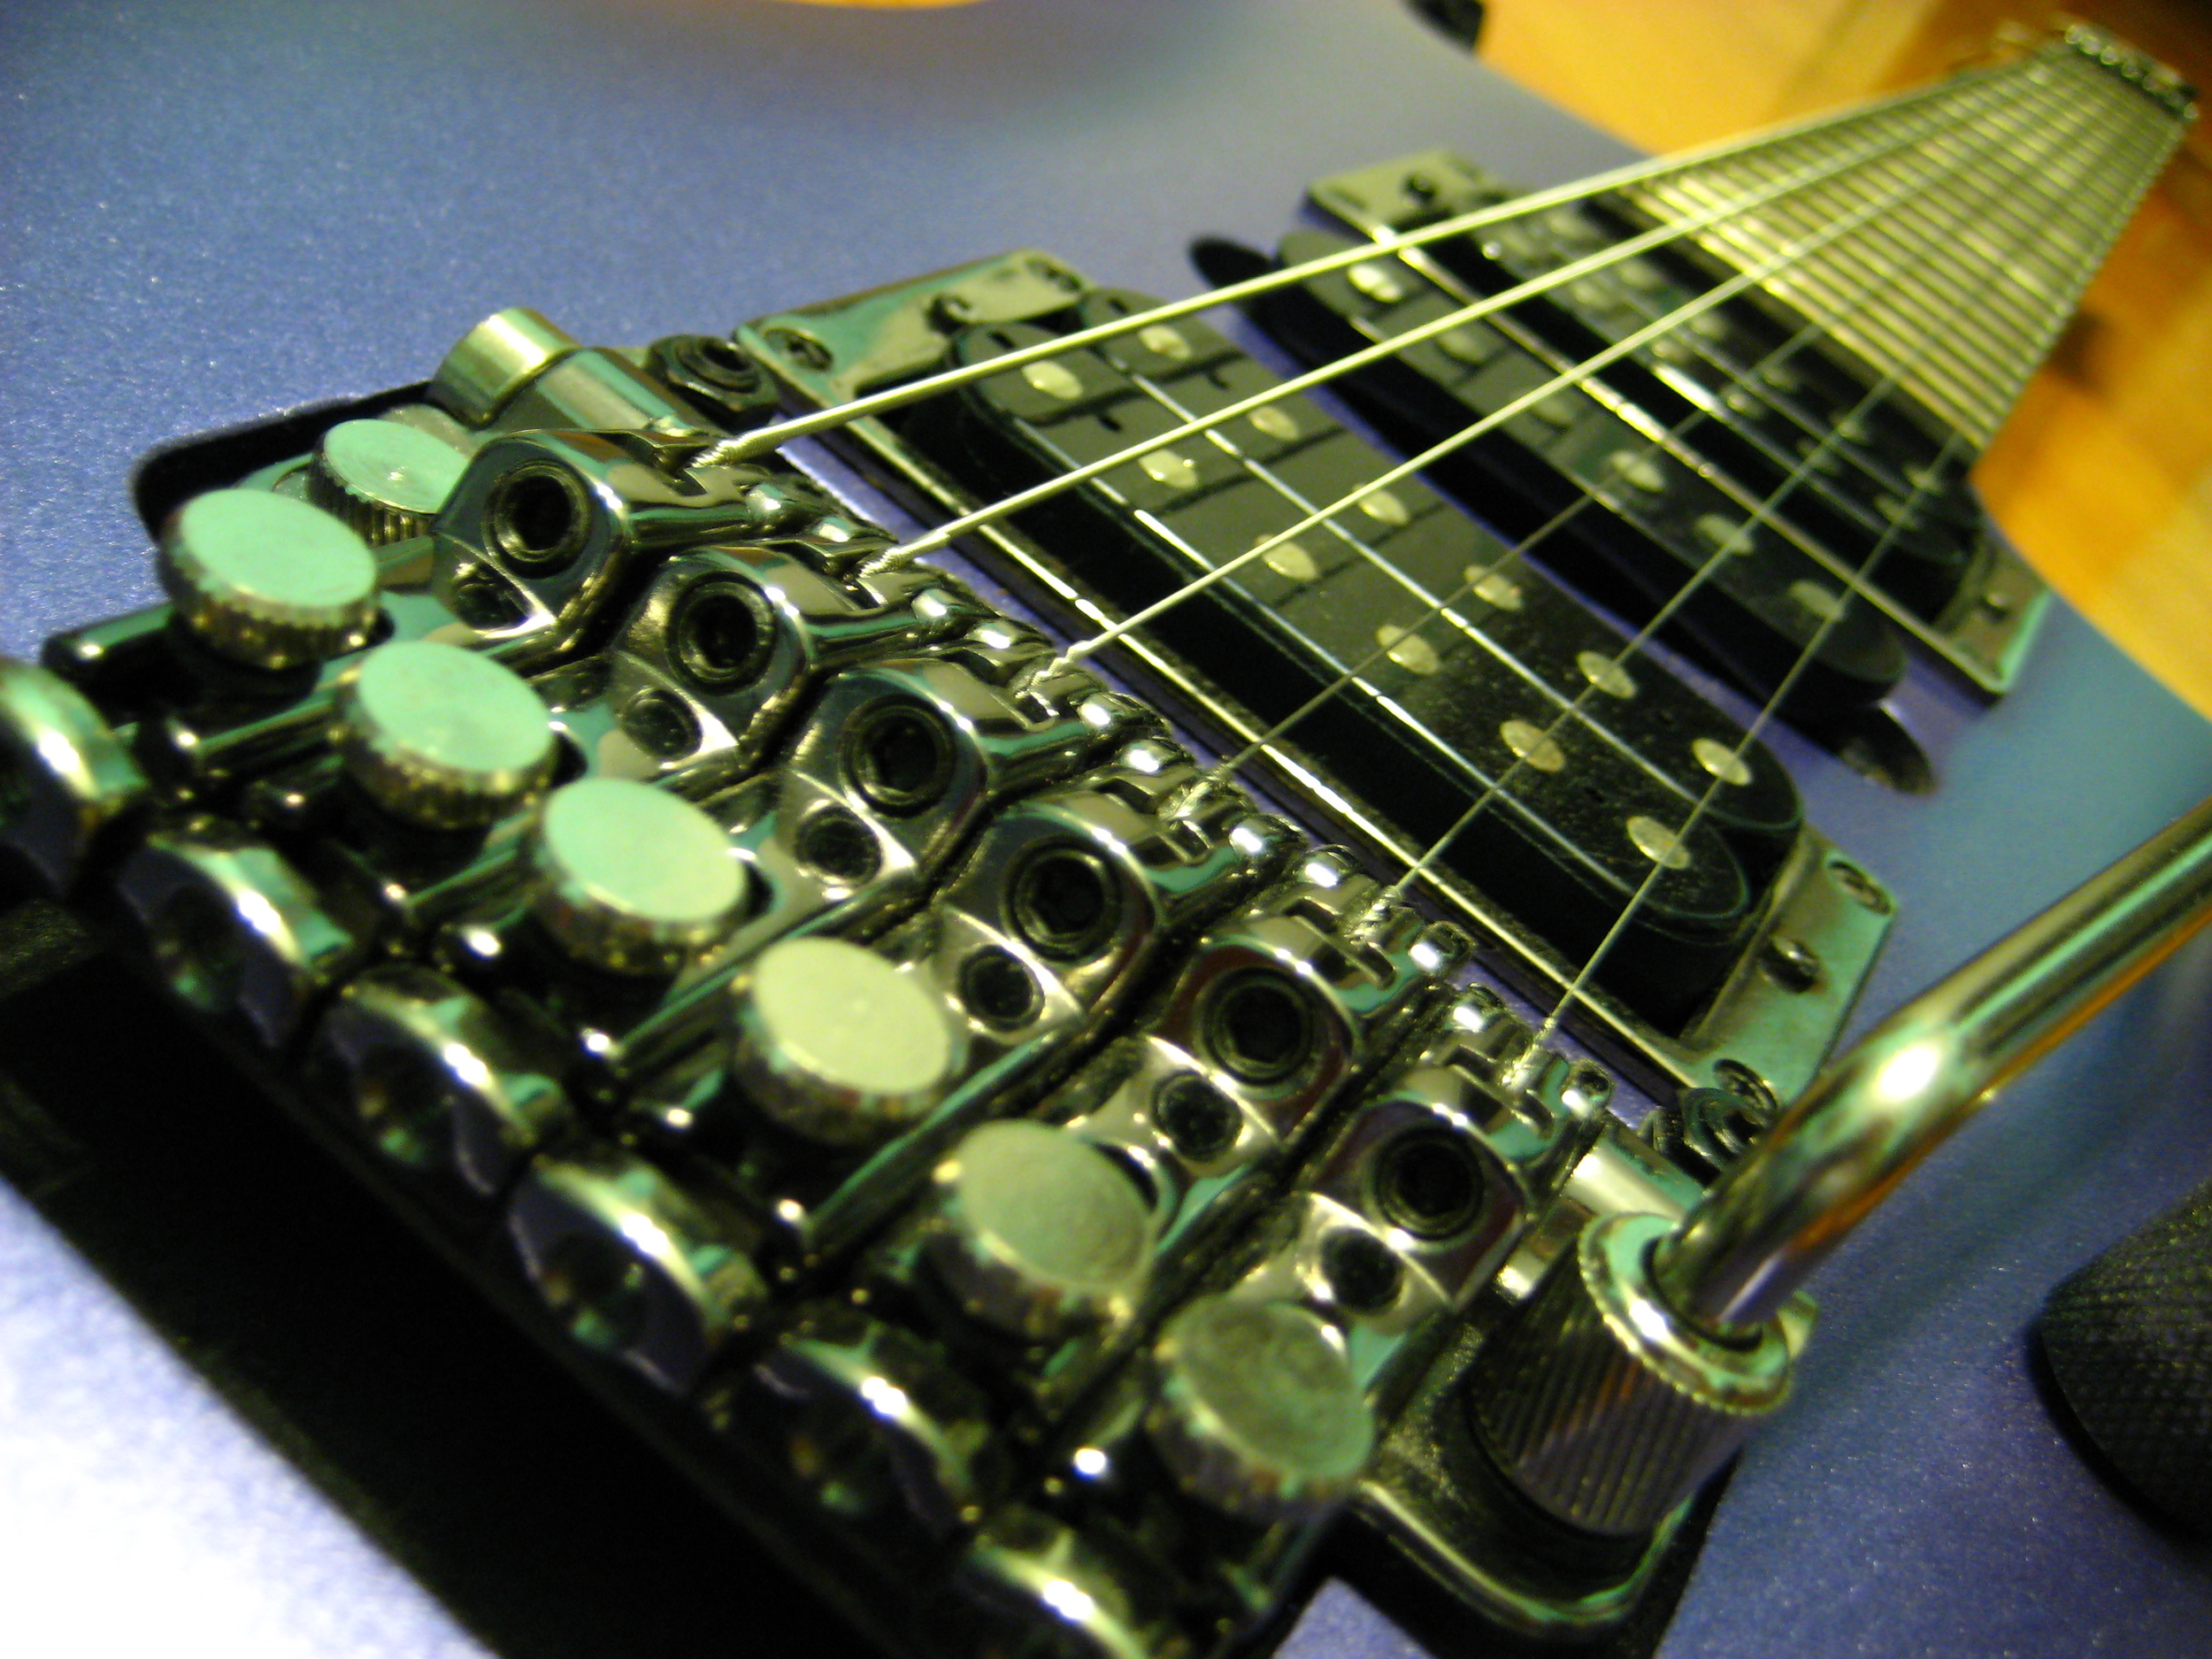
I hated my guitars … until I learned to build my own.
Over the last few months I’ve been completely preoccupied with updating, building, and customizing the electric guitars in my modest arsenal. Throughout this journey I’ve learned a few things that might benefit other guitar players looking to build a better and more responsive guitar.
This week’s post provides some tips and resources that’ll help you update, customize, or build your very own custom guitar … from scratch!
The Stratocaster Update:
My excursion began with the realization that my old faithful Fender Stratocaster wasn’t really sounding very good. The sound was lacking body, tone, and –– perhaps most significantly –– real personality.
Consequently, I took the route many neurotic and responsible guitarists take and blamed it on my playing, amplifiers, and effects. I mean, how could my trusty Stratocaster –– the one I’ve had since my first year of playing –– be to blame?
After a long and troubleshooting period of a couple of years (that included lots and lots of practice and the purchase of some new amps and effects) I came to the conclusion that some of my sonic woes were rooted in the inadequacy of my solid body buddy.
So I shelved it.
What was I to do? Do I dare begin to tamper with that which is so familiar … yet so obviously inadequate?
The answer was “Yes!”
I decided to change the pickups and hardware. This included all three pickups (bridge, middle, and neck), the bridge saddles, and the tremolo block. This was a relatively easy and inexpensive update to a guitar that already had a great body, a good playing weight, and a nice neck.
My 87' Strat
To make this happen I used parts from the following companies:
Lollar Pickups (www.LollarGuitars.com): Fantastic pickups designed to bring your guitars back to life. I chose Lollar for their reputation and for the quality of design and workmanship.
Callaham Guitars (www.CallahamGuitars.com): Replacement saddles and tremolo block. Callaham builds replacement parts for Teles and Strats that are designed to meet and exceed the original specs from the earlier 1950’s era guitars. The materials they use, along with their attention to detail, made this company an easy choice.
The result is a true Goldilocks guitar. Just right for every occasion! It sounds just as I’ve always wished it would sound. The middle position is actually usable! I’m always blown away when I play this guitar.
The Telecaster Build (Frankencaster Part 1)
Frankencaster I
I was on a gig one night when a friend walked into the venue with this guitar that looked a lot like a Fender Telecaster but played and sounded nothing like anything that you can get off the rack at a local guitar shop. When he told me that he had built it for a fraction of the cost of most custom jobs, I was blown away. I began to buy the necessary parts:
Body – Squire Telecaster Classic Vibe body (Pine)
Neck and pickguard – Warmoth (www.Warmoth.com) from in-stock Tele necks
Pickups - Lollar Guitars Tele pickups
Hardware – Callaham guitars (Bridge, control plate, tuners, neckplate)
The whole series of parts cost just about $1,000! I know this may seem like a decent chunk off money, but this is pretty reasonable considering that a new American Telecaster (with stock parts) will cost you between $1,200 and $1,700, and most custom electrics will definitely exceed these prices.
Frankencaster I
The only change that I made –– about a year later –– was the body. The Fender Squire body served me well for a while, but the weight of the one-piece pine body began to take a toll and I had to make a change. I went back to Warmoth Guitars and ordered a Tele replacement body made of alder wood. This body is significantly lighter and warmer than the pine.
Of course, buying another Squire Classic Vibe made of Mahogany could have solved the weight problem, but I wanted a different paint job. What can I say? The heart wants what the heart wants.
The resulting guitar is a classic Telecaster sound. The combination of the mean bridge pickup with the warmth of the P-90 in the neck is big and very chunky. The neck position by itself provides me the flexibility to get a wonderfully warm jazz tone.
The Telecaster Build (Frankencaster Part 2)
The latest addition to my collection was inspired by the constant switching I was doing between acoustic and electric guitars. Generally, I’d have a whopping 2-3 measures to make the switch. This got old and I wondered if there was a better solution.
Frankencaster II
And there was!
I was picking up some strings at the local guitar shop, girlfriend in tow, when I spied a Squire 72 Thinline Telecaster at a guitar store for a stupid low price. (This particular body is mostly hollow with a few chambers.)
Feeling the holiday pinch, I put off the purchase, only to have my amazing and fantastic girlfriend (who will read this) slip it under the Christmas tree.
My plan was to outfit this guitar with a piezoelectric or “piezo” pickup in addition to magnetic pickups. This combination would allow me to play acoustic parts and electric parts with the flick of a switch. I could even combine the two sounds if I desired.
The piezo pickup that I selected was the Fishman PowerBridge. The additional Power chip provided me with the ability to create a blend of both electric and acoustic signals using either a stereo Y-cable or a standard mono guitar cable.
Frankencaster II
The parts selected below:
Neck – Warmoth Guitars
Bridge – Fishman PowerBridge and Power chip (from Bluestar Music)
Hardware – Callaham guitars (tuners, screws, neckplate, pickup selector, knobs)
Body – Squire 72 Thinline Telecaster (Mahogany)
Pickups – Lollar Guitars Tele pickups
Pickguard - eBay
This guitar is crazy!
With a flick of a switch I can go from acoustic to electric or a combination of the two. In addition, there’s a volume knob for both sounds so I can dial in the desired mix of each sound –– a real pleasure to play!
How I Put Them All Together
I couldn’t have completed these projects without the help of a great guitar tech (Alex Jones from Jonesified Arts & Music). Not only did I receive helpful advice, but I also had another guitar geek like myself to bounce ideas off of.
There are, of course, additional costs when utilizing the expertise of a guitar tech, but if you’re short on time (like myself) and would rather avoid the headaches of troubleshooting the inevitable problems that come up with these projects, I suggest you find a qualified person to get it right … the first time.
Problems
There were only a few issues I came across during this process:
1) The Neck – Make sure to get the frets installed by the company you’re ordering your neck from. It is much easier for the company to do it since they have all of the requisite machinery.
2) Fishman Pickup – there were two different sizes for the PowerBridge. Make sure to order the correct size for the type of guitar body.
For a helpful list of websites to begin your own journey, take a look at the previous post entitled: “Hate Your Guitar? 5 Considerations When Customizing Your Guitar”. Feel free to ask questions and post comments about your own guitar customization journey.
Happy fretting!


